Hi Tea Room Fans!
We are back with another fun challenge over at The Shabby Tea Room from our host Starr who asks that we create a card/project using:
*COLOURS: BLUE + WHITE + KRAFT
* ADD A SENTIMENT.
I've used Paper Sweeties "So Sweet of You" stamp set for my sentiment. A painted wooden birdcage sits on top of some blue lace and some pretty patterned paper for my 'blue' element. I have very little dark blue papers so this will have to suffice. I just love that blue in the photo, don't you? A pretty stick pin made by my blog buddy Stella, sits behind my flower and leaf cluster. A pretty simple card and I just love the end result.
I hope you all had a wonderful Easter weekend, and now I'm off to pop by the rest of the team to see what they've created this week:
Debbie- Deb's Simple Treasures
Lenet- To Scrap or Not to Scrap
Rebecca- Paper Primrose
Tracey- Trace Elementz
Starr- The Paper Chase
Play along with us and you could win 2 stamp sets from Paper Sweeties!
See you in the Tea Room,
~Becks
March 31, 2013
March 29, 2013
happy Easter!
Hi there Peeps!
Just popping in with a quick and simple Easter card that I made using Crafty Secrets "Spring Chicks" Digital stamps. This great egg stamp was so easy to play with, I simply used Photoshop to change the outline of the stamp from black to the colours I wanted.
It takes a little time, but all I did was make 3 copies of the original image, select the paint bucket and colour of my choice, then use the magnify to increase the size of the image so its easier to work with. Then I positioned my paint bucket over the lines and click on them to change the colour. (This is the easiest way I've found so far, but if you are a pro at PS then please pass on some tips. I'm still a newbie when it comes to PS so I don't know too many tricks)
I cut them out and added colour coordinated bows for a little dimension. I had to add a little sparkle, so I used some spray adhesive and yummy glitter on top.Topped off with some half pearls and it's a quick and simple card to tuck into an Easter basket.
I hope everyone has a wonderful Easter weekend. I'll be back on Monday with a brand new Crafty Secrets Linky party with some FAB new products. You won't want to miss this!!
~Becks
Labels:
cards,
Crafty Secrets,
DT,
Easter
March 24, 2013
lovely layers...TSTR #159
So glad you stopped by today. Over at The Shabby Tea Room I'm your host and have a brand new sketch challenge for you. What I would like from you is a card or project using:
*THE SKETCH- Rotate it, flip it or use it as it is.
*COLOURS FROM THE PHOTO.
Our sponsor this week is Bugaboostamps and I chose to play with the Flower Tag #7.
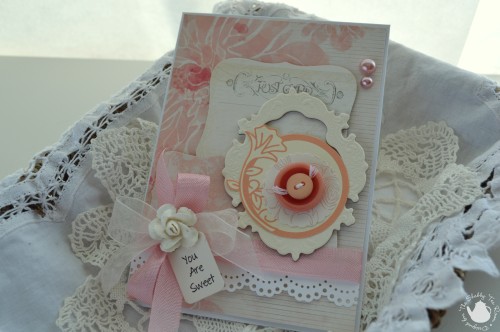
I just loved the pinks in the photo.. used different patterned papers. Sentiment is from Paper Sweeties "Pennant Party" I used 3D foam tape to help define my layers.
I hope to see you in the Tea Room this week. You could win 7 digi images from Bugaboo! I'm off to pop by the rest of the team blogs to see what magic they have created.
Debbie- Deb's Simple Treasures
Lenet- To Scrap or Not to Scrap
Rebecca- Paper Primrose
Tracey- Trace Elementz
Starr- The Paper Chase
Cheers!
~Becks
*THE SKETCH- Rotate it, flip it or use it as it is.
*COLOURS FROM THE PHOTO.
Our sponsor this week is Bugaboostamps and I chose to play with the Flower Tag #7.
I hope to see you in the Tea Room this week. You could win 7 digi images from Bugaboo! I'm off to pop by the rest of the team blogs to see what magic they have created.
Debbie- Deb's Simple Treasures
Lenet- To Scrap or Not to Scrap
Rebecca- Paper Primrose
Tracey- Trace Elementz
Starr- The Paper Chase
Cheers!
~Becks
March 17, 2013
anything goes...TSTR #158
Hey there!!
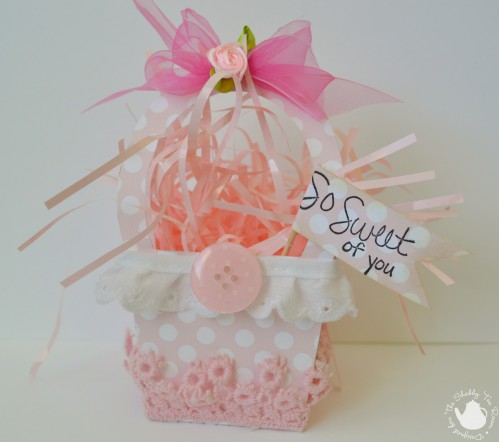
It's time for another Shabby Tea Room Challenge. Lenet has given us a free week. I love weeks like this! Choose any inspiration or theme and create to your hearts content! This week we got to play with My Time Made Easy's 'Bag-sket' file and pretty Dot's papers. I used "Blushing" for my pretty pink basket and Paper Sweeties "So Sweet of You" stamp set for my pennant sentiment.
Be sure to see what the other Shabby Girl's created this week!
Debbie- Deb's Simple Treasures
Lenet- To Scrap or Not to Scrap
Rebecca- Paper Primrose
Tracey- Trace Elementz
Starr- The Paper Chase
Hope to see all of your crafty creations in the Tea Room! Play along and you could win an awesome My Time Made Easy Prize:)
~Becks
sweet springtime...
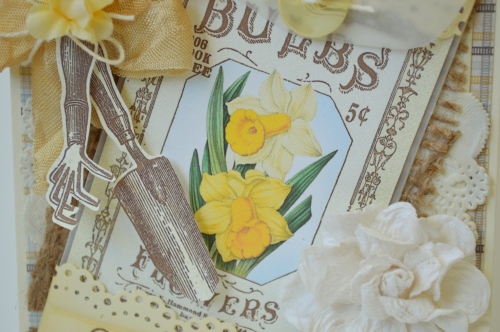
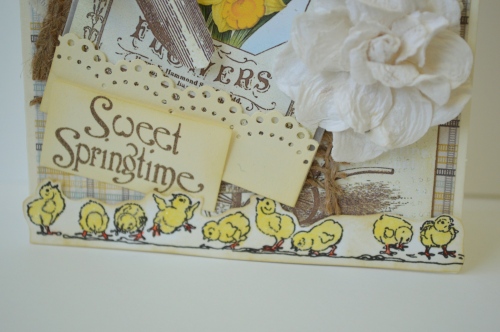
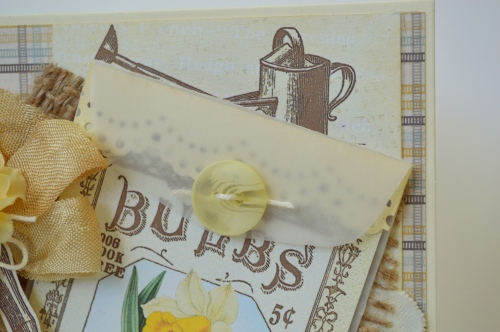
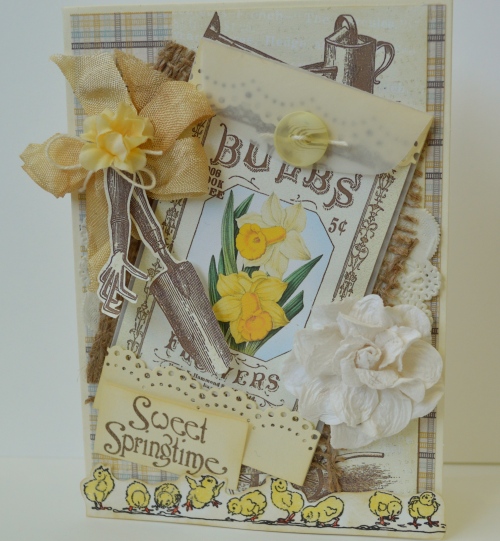
To keep my sunshiny, spring time mood, I got crafty with the new Crafty Secrets Digital Stamps for Easter. Have you seen them? Oh so cute and full of vintage goodness. I paired the new Spring Chicks with a great digital paper from CD . Seeds and sweet chicks, what's not to love? I made a simple seed packet out of vellum and added my daffodil seed pack front. The lined up chicks I coloured with water colours, distressed around the edges and added some fine glitter. The digi paper had the greatest garden theme and I used that in the background, fussy cut out the garden tools to add to my bows..
I hope Spring has sprung in your neck of the woods!
Happy Crafting:)
~Becks
Labels:
cards,
Crafty Secrets,
DT,
Easter,
handmade
March 11, 2013
oh-so pretty in pink...TSTR #157
Just popping in with a quick post to let you know about the new weekly challenge over at The Shabby Tea Room. Debbie is our host and asks that we create a card or project using:
* COLOUR: PINK
*RIBBON
*FLOWER
*LACE OR TULLE
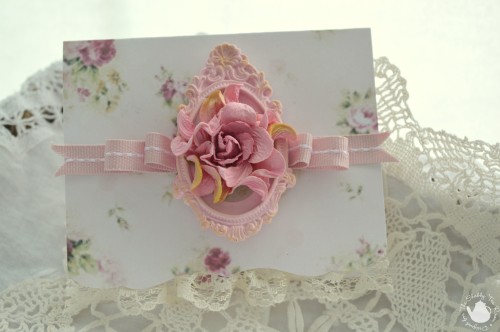
This week our sponsor is Janet's Digital Paper (Etsy) and I used the Romantic Paper Roses to make my gift card holder. Play along and you could win digital collages from Janet.
I'll pop by later on today to add more photos. Fighting a cold so this will be short and sweet til I have a little more energy.
Pop by the rest of the Shabby Girl's blog to see what they created this week:
Debbie- Deb's Simple Treasures
Lenet- To Scrap or Not to Scrap
Rebecca- Paper Primrose
Tracey- Trace Elementz
Starr- The Paper Chase
Becks
March 8, 2013
Easter memories...
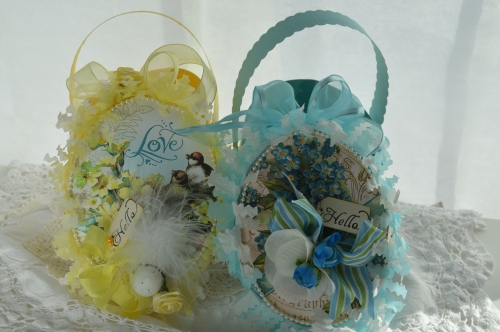
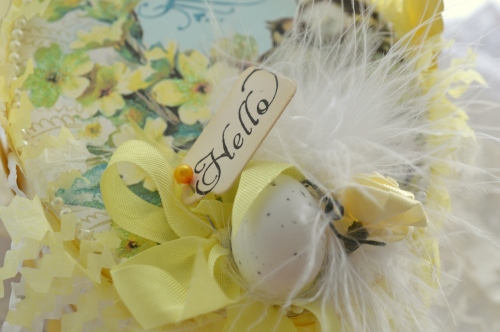
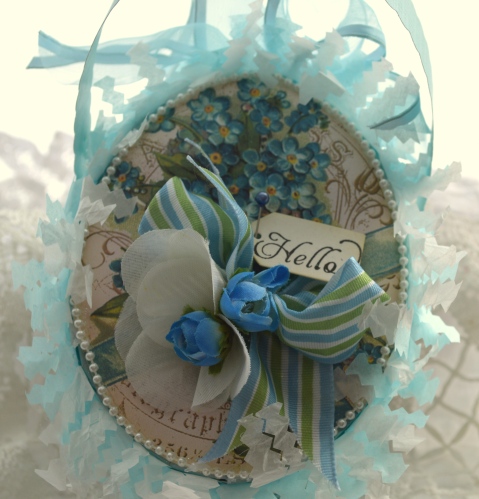
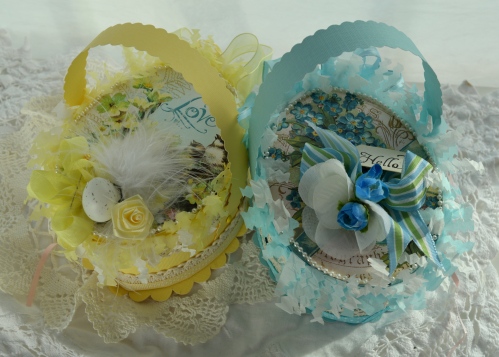
Today I'm using these fabulous Victorian Egg Digital images available from Crafty Secrets. I love their vintage look, it was hard choosing which pretty image to use on the top of my boxes. Begin with using an oval shaped box or make your own as I have done here. You can buy a great and easy template here. Once assembled choose your image and cut to size(or presize them before printing) and stick to the top of your box. It's perfectly ok if it doesn't fit exactly right. We have a couple finishing touches up our sleeves :)
I
added some glitter to a few spots on top of the flower images, just to
give a little extra sparkle. To hide the edge of my printed image I ran a
bead of hot glue around the edge, working about 2-3 inches at a time,
and gently pushed a string of pretty pearls all the way around.
Next take a crepe paper trim and glue it to the outer edge of the lid. Or, make your own out of tissue paper as I have done here. All I did was cut inch wide strips of 2 colours of paper and glued them together, right down the middle. Then, taking pinking shears I just cut random slits in the paper(not all the way through) on both sides of the middle glue line to make its frilly and mimic the filler in the Easter baskets. Position it as high up on the sides of your lids and glue into place. If you place it too high up, don't worry-just give it a little hair cut to achieve the right height.
Just under your paper trim to hide the
raw edge I added a piece of pretty crocheted trim right below and glued
all the way around. Overlapping the trim and the edge of the paper trim I
added a piece of polka dot ribbon to tidy it all up. I repeated the
crocheted trim and ribbon around the edge of the bottom of my box to
match the top, being sure to use the ribbon to hide the edge of the trim.
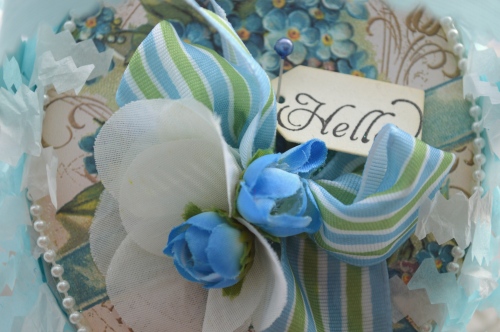
Decorate the tops of your boxes how ever you choose. I went with eggs and feathers for the birdies, and flowers and ribbons for the other. I added a big bow to the very top of my box. The tags use sentiments from Crafty Secrets Postcard stamp.
To create a moveable handle, take a long strip of the same colour card stock and scallop the edges. Poke level holes on either side of the base of your box and through the ends of your long handle strip. Using a similar coloured brad, piece the strip and base together, closing the end of the brad snug, but not so snug so that the handle can't move. Fill with shredded tissue paper and goodies and you've got a sweet handmade gift to give away!
Don't forget over at Crafty Secrets Blog we are having our monthly linky party! Come and join us and win an awesome Crafty Secrets prize:) and everyone who enters will get a $6 coupon code:) Woo hoo!
~Becks
Labels:
Crafty Secrets,
DT,
Easter,
handmade
March 4, 2013
Crafty Secrets March Linky Party!!
Create something using Crafty Secrets products for your chance to win a $50 gift certificate for the Crafty Vintage Girl online store.
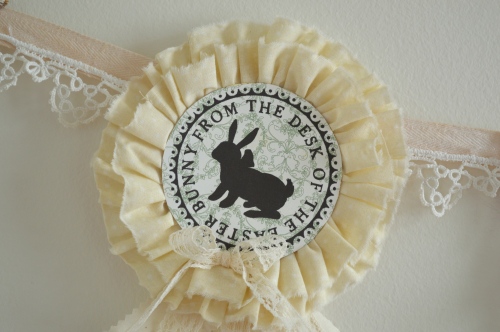
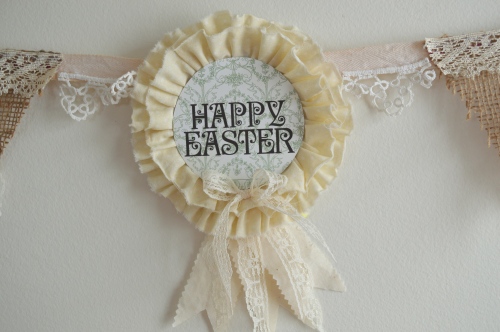
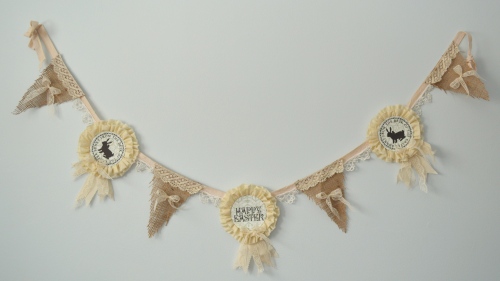
When I think of Spring and Easter I remember the Agriculture Exhibition and all of the gorgeous, big prize ribbons, so I took my inspiration from that. I started with my patterned paper from CD #1 and layered the digital stamp on top before printing them out.
I love ruffles and easily made these medallions by hot gluing strips of cotton to a circle (slightly larger than my printed image) overlapping the fabric to make ruffles. Take another strip of fabric and offset it slightly to create the smaller second circle of ruffles. I traced the same sized circle onto a stiffer piece of cardboard before gluing it to the centre of the fabric medallion.
I added some fabric ribbon tails edged with pinking shears and added some pretty lacy bows. A little lace on the burlap pennants and some fancy trim rounds out my shabby banner.
Vicki Chrisman (Team Leader)
Michele Kovack
Darlene Pavlick
Melissa Bove
Happy Monday!
~Becks
Labels:
challenges,
Crafty Secrets
March 3, 2013
frame it...TSTR #156
This week's challenge over at The Shabby Tea Room is set by our hostess Tracey and it's another fab challenge to get your gears going. Tracey asks that we create a card/project using:
*WHITE plus ONE OTHER COLOUR
* ADD A FRAME
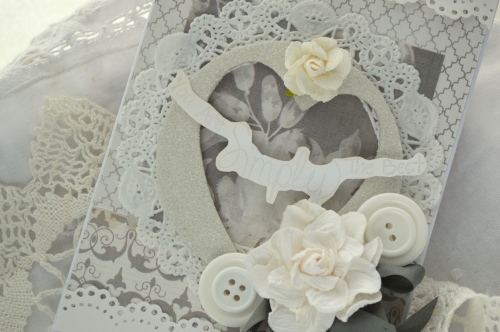
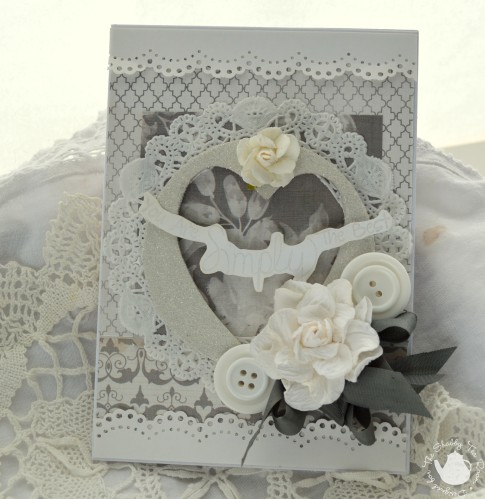
Our sponsor this week is Debbie's Paper Sweeties, and that's where my sweet sentiment came from. I used the 'You are Simply the Best' Sentiment stamp set to add to my card.
I just love greys and white lately, so I was so excited for the challenge this week. I paired up a few different MME papers and added a Maya Road chipboard heart frame. I painted it white, and added some shimmery sparkly glitter.
Play along with us this week and you can win 2 stamp sets from Paper Sweeties to get crafty with. Be sure to pop by the rest of the Shabby Girl's blogs and leave some love:
Debbie- Deb's Simple Treasures
Lenet- To Scrap or Not to Scrap
Rebecca- Paper Primrose
Tracey- Trace Elementz
Starr- The Paper Chase
See you in the Tea Room!
~Becks
Labels:
cards,
challenges,
DT,
handmade,
Paper Sweeties,
The Shabby Tea Room,
TSTR
March 1, 2013
sew special...
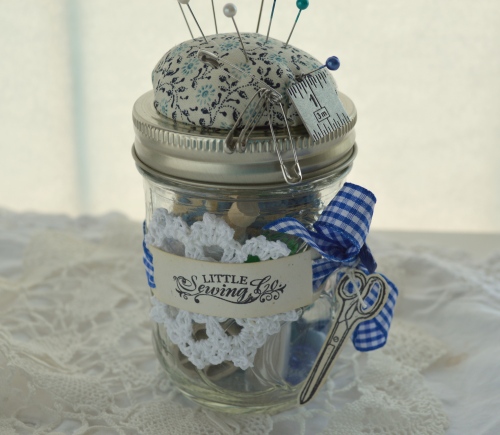
Are you one of those multi-talented crafters who can sew, knit, crochet and all the rest as well as paper craft? I wish I could say I was. I know basically nothing about sewing. I wish I had my mama's talents, but truth is I have no patience when it comes to sewing. Seems I'm in constant odds with my sewing machine, and that's just to add stitching to my cards! I do LOVE seeing all types of cool pincushions and wanted to make a crafty project featuring sewing.
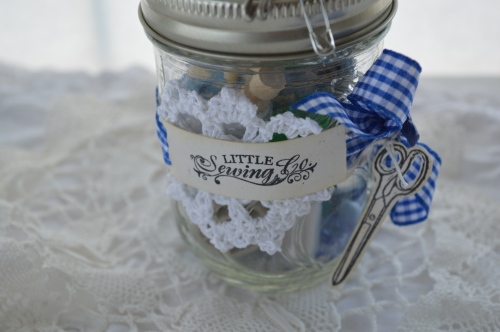
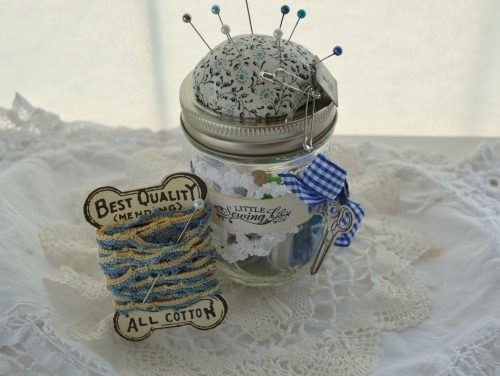
That being said, I'm back to share my mason jar project that I made using Crafty Secrets Material Girl Digital stamp set. I just love this digital set. I love how you can enlarge the images to the size you require and at the push of a button print them out and get crafty.
Love the thread spool card. It tucks into the jar but I just had to show it off here. You could wrap it with any pretty lace or trim to add to your jar contents. The digital set is so easy to work with. I fussy cut out the little scissors and used them as a tag for the jar.
Over at the Crafty Secrets Blog Sandy is showing off another sewing related project created by DT member Melissa. Be sure to check it out as well as our new Easter goodies giveaway!
I'll be back shortly to share some sweet spring and Easter projects.
Happy Crafting!
~Becks
Labels:
Crafty Secrets,
handmade,
jar projects,
sewing
Subscribe to:
Posts (Atom)


